Filler for ceilings plays a crucial role in achieving smooth, flawless surfaces in both residential and commercial properties.
1. Introduction to Ceiling Fillers
Ceiling fillers are materials used to repair and smooth ceiling surfaces, essential for achieving a professional and polished look.
1.1 What Is Ceiling Filler?
Ceiling filler is a compound used to fill cracks, holes, and imperfections in ceiling surfaces before painting or finishing.
1.2 Types of Ceiling Fillers
Various types of fillers are available, including joint compound, plaster, and specialized ceiling repair products, each with unique properties.
2. Types of Ceiling Fillers
Choosing the right type of filler depends on the nature of the ceiling surface and the extent of the repair needed.
2.1 Joint Compound
Joint compound, also known as drywall mud, is commonly used for filling joints and seams in drywall ceilings and smoothing surfaces.
2.2 Plaster
Plaster fillers provide a smooth and durable finish for ceilings, ideal for traditional plaster ceilings and extensive repairs.
2.3 Ready-Mixed Fillers
Ready-mixed fillers are pre-prepared and convenient for quick repairs and minor ceiling surface imperfections, offering ease of use.
2.4 Specialized Ceiling Fillers
Specialized fillers are designed for specific ceiling issues, such as stain-blocking or mold-resistant properties, catering to unique requirements.
3. Applications of Ceiling Fillers
Understanding how to apply ceiling fillers effectively ensures a smooth, even finish and enhances the durability of ceiling surfaces.
3.1 Filling Cracks and Holes
Ceiling fillers are used to repair cracks and holes, creating a seamless surface before painting or applying finishes.
3.2 Smoothing Uneven Surfaces
Fillers help in leveling uneven surfaces on ceilings, eliminating imperfections and creating a smooth, uniform appearance.
3.3 Repairing Water Damage
For ceilings affected by water damage, fillers restore the surface by repairing sagging or deteriorated areas effectively.
3.4 Preparing for Painting
Before painting, applying ceiling fillers ensures that the surface is smooth and ready for a flawless paint job, enhancing the finish.
4. Benefits of Using Ceiling Fillers
Using ceiling fillers offers several benefits, including improved aesthetics, durability, and enhanced protection against future damage.
4.1 Enhancing Aesthetic Appeal
Ceiling fillers create a smooth, even surface, improving the overall appearance of the ceiling and enhancing the room’s aesthetics.
4.2 Increasing Surface Durability
Fillers strengthen ceiling surfaces, helping to prevent future cracking and deterioration, extending the lifespan of the ceiling material.
4.3 Easy Application and Repair
Ceiling fillers are easy to apply and can be used for both small touch-ups and larger repairs, simplifying maintenance tasks.
4.4 Cost-Effective Solution
Using ceiling fillers is a cost-effective way to achieve professional-quality finishes and repairs, avoiding the need for costly replacements.
5. Best Practices for Applying Ceiling Fillers
Following best practices ensures optimal results when applying ceiling fillers, contributing to a smooth, durable, and visually appealing finish.
5.1 Preparing the Surface
Before applying filler, clean and prepare the surface by removing loose material, dust, and debris to ensure proper adhesion.
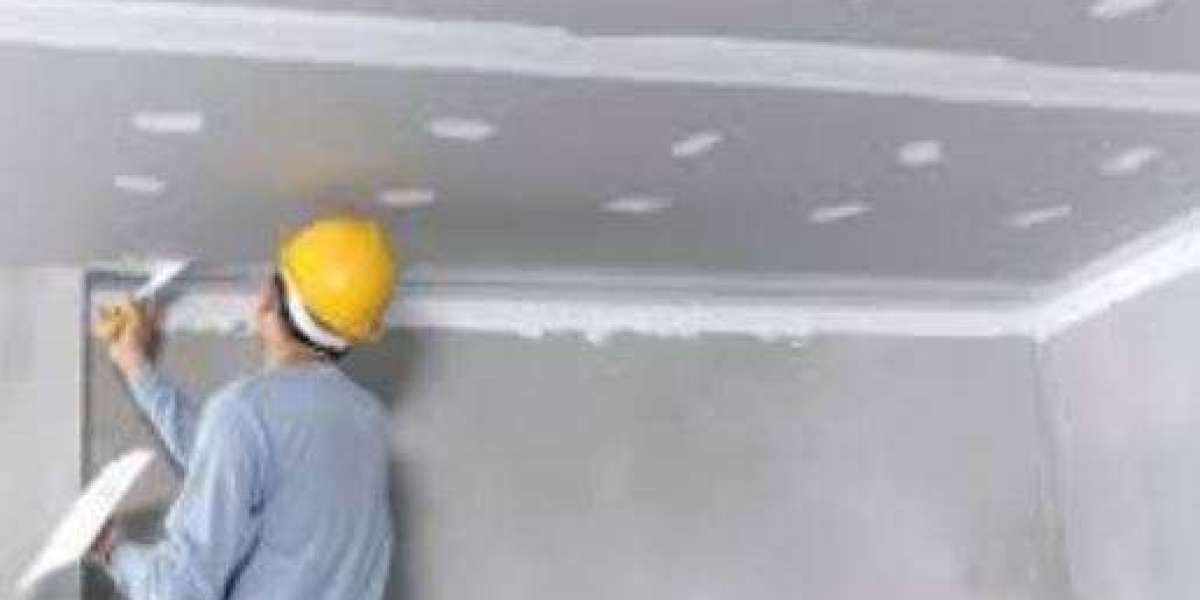
5.2 Applying the Filler
Apply the filler evenly using a putty knife or trowel, pressing it into cracks and holes and smoothing it to match the ceiling surface.
5.3 Sanding and Smoothing
After the filler has dried, sand the surface lightly to achieve a smooth finish, blending the repaired area with the surrounding ceiling.
5.4 Priming and Painting
Apply a primer to the filled areas before painting to ensure uniform coverage and a consistent finish across the ceiling surface.
6. Common Issues and Solutions
Addressing common issues encountered with ceiling fillers can help achieve better results and prevent potential problems during and after application.
6.1 Cracking in Filler
Cracking in filler can occur due to improper application or drying conditions. Ensure even application and allow adequate drying time.
6.2 Uneven Surface Finish
An uneven finish may result from inconsistent filler application. Use a consistent technique and smooth the surface thoroughly before drying.
6.3 Difficulty in Sanding
Difficulty in sanding filler can be due to excess moisture or improper curing. Ensure the filler is fully dry before sanding.
6.4 Adhesion Problems
If the filler does not adhere properly, it may be due to surface contamination. Clean the surface thoroughly before applying filler.
7. Choosing the Right Ceiling Filler for Your Needs
Selecting the appropriate filler based on your specific needs and ceiling conditions ensures effective repair and a high-quality finish.
7.1 Assessing Ceiling Material
Consider the type of ceiling material (drywall, plaster, etc.) when choosing a filler, as different materials may require different types of fillers.
7.2 Evaluating Repair Extent
Determine the extent of the repairs needed to select a filler with the appropriate properties and application requirements.
7.3 Considering Environmental Factors
Choose fillers with properties suited to environmental conditions, such as moisture-resistant fillers for areas prone to humidity or water damage.
7.4 Consulting Professional Advice
For extensive repairs or complex ceiling conditions, consult with a professional to ensure the best filler choice and application techniques.
8. Conclusion: Mastering the Use of Ceiling Fillers for Perfect Finishes
Ceiling fillers are essential for achieving smooth, flawless surfaces in ceilings, enhancing both the aesthetics and durability of the space.